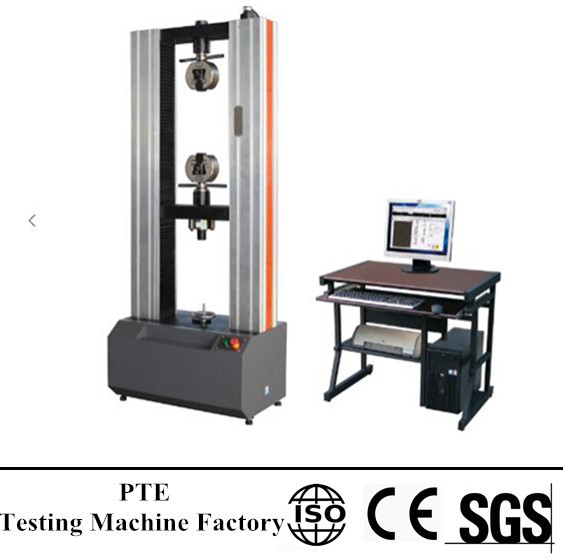
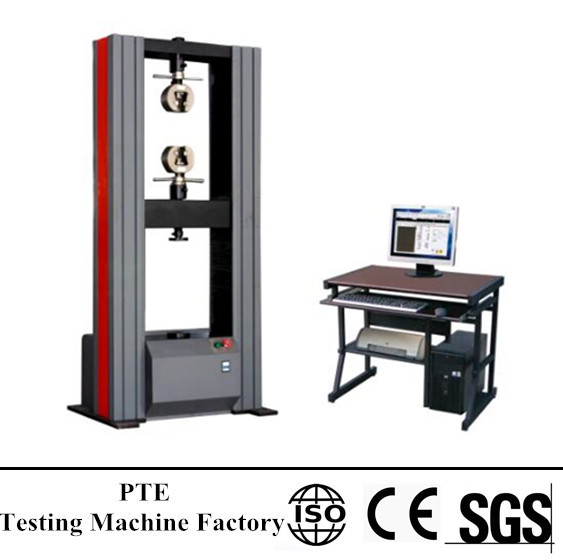
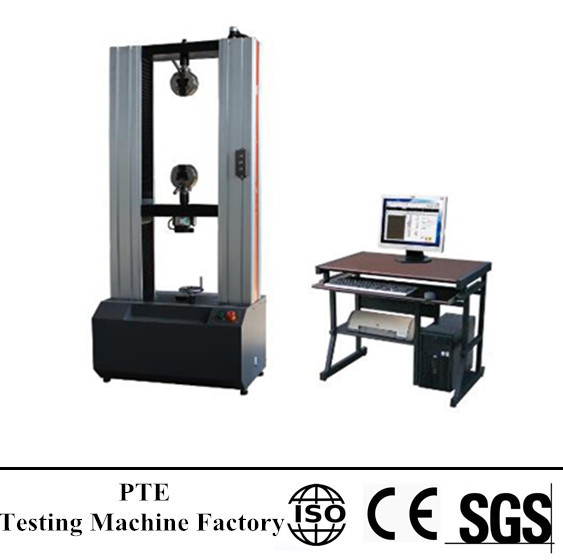
Microcomputer Control Electronic Universal Tensile/Compressive Testing Machine
July 16, 2018
KWP- Microcomputer Control Electronic Universal Testing Machine
Product Description
This portal microprocessor control electric universal testing machine is an electronic technique and mechanical drive combinative machine for new materials testing. It has a broad accurate loading speed and force measurement range, is of high accuracy and sensitivity to load, deformation, displacement measurement and control, and can proceed constant speed loading, constant speed deformation, constant speed displacement automatic control test, and have the functions of low cycle loading circulation, deformation circulation, displacement cycle.
Mainly used in the sample tensile, compression, bending, cutting test, and some of the special material test method.
Main technical parameters:
1. Maximum testing force ofmeasurement parameter: 200KN;
2. Testing machine level: 0.5 level/ 1 level;
3. Testing force range 0.4% ~ 100% FS/0.2% ~ 100% FS;
4. Testing force’s relative errorof show value± 0.5% / ± 1.0% or less;
5. Testing force resolution 1/300000FS;
6. Deformation measuring range: 0.02% ~ 100% FS;
7. Deformation relative error of show value: within ± 0.50%;
8. Deformation resolution: 1/300000FS;
9. Max deformation measuring range: 10 ~ 800mm;
10. Max deformation relative error of show value: within ± 0.50%;
11. Max deformation resolution: 0.008mm;
12. Beam displacement relative errorof show value: within ± 0.50%;
13. Displacement resolution 0.05μm;
14. Control parameters velocity range: 0.005 ~ 5% FS / S;
15. Velocity accuracy <0.05% FS, within the for the set value of ±2%:
16. Rate≥ 0.05% FS, within the set value of ± 0.5% / ± 1%;
17. Range of deformation rate: 0.02 ~ 5% FS / S;
18. Relative error of deformation rate: within set value of ± 0.5%;
19. Beam velocity range: 0.001 ~ 500mm/min;
20. Relative error of beam velocity rate <0.01 mm / min, within the set value of± 1.0%;
21. Rate ≥ 0.01 mm / min, within the set value of ± 0.2%;
22. Range of constant force, constantdeformation, constant displacement control: 0.5% ~ 100% FS;
23. Constant force, constant deformation, constant precision displacement control settings ≥ 10% FS, within the set value of ± 0.1%;
24. Set value <10% FS, within the set value of ± 1%;
25. Other effective testing width: 400mm;
26. Max beam stroke: 1000mm;
27. Power supply 220V ± 10%;
Main Configuration:
1. Testing mainframe 1;
2. Testing software 1;
3. Tensile fixture 1;
4. Compressive fixture 1;
*5. Computer and printer (user-owned, beyond the scope of quotation).


 universal testing machine working
 working of universal testing machine
 what is universal testing machine